Wednesday, June 30, 2010

Random summer moments...

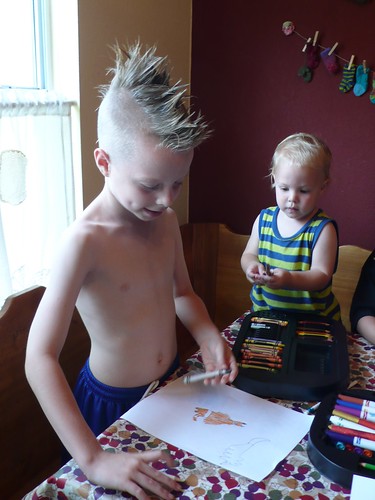
Love the morning light through the kitchen window...


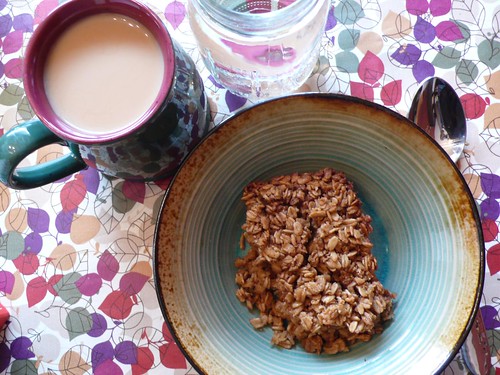
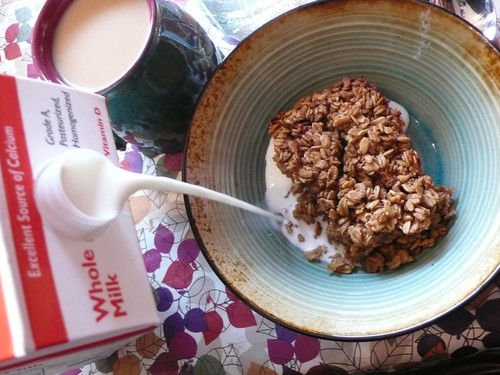
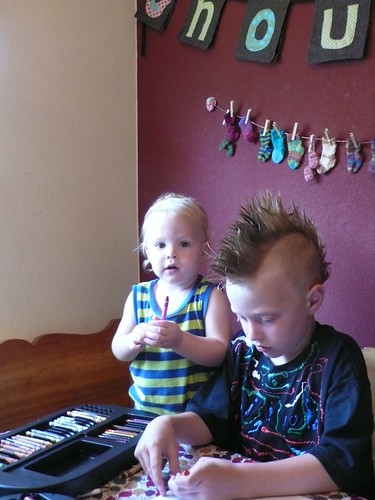
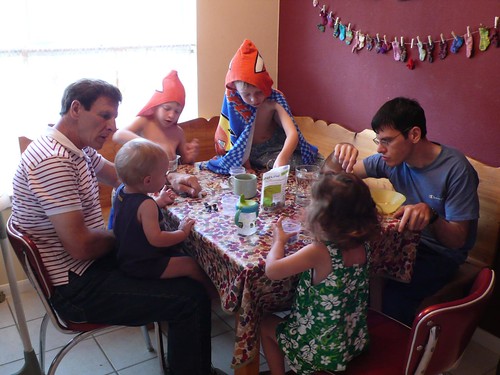
Eating breakfast with Greg's dad and brother


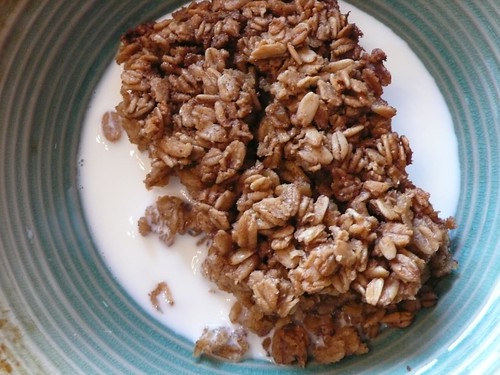
Baked oatmeal (recipe at Machismo)


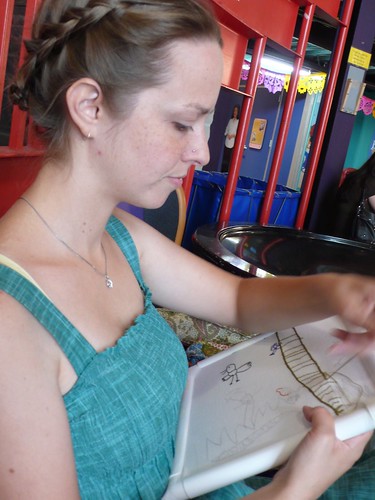
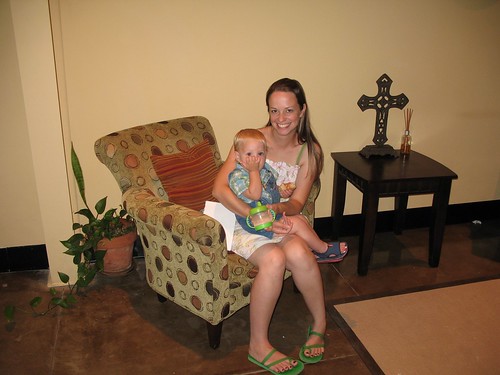
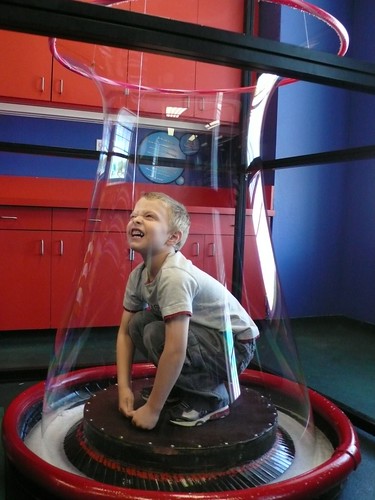
Stitching at the Austin Children's Museum/Dell Discovery Center while Billy napped in the stroller

Tuesday, June 29, 2010

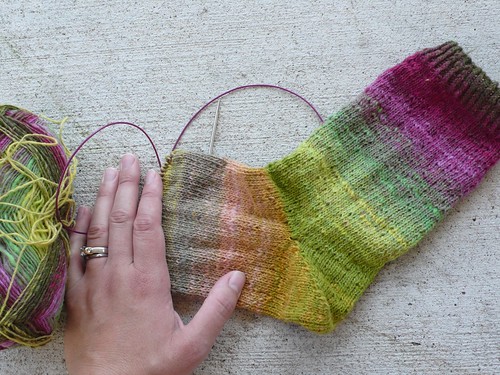
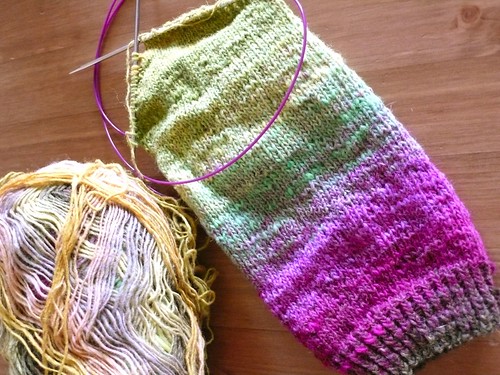
Noro sock in progress...


It seems that I've started the toe JUST a bit too soon so I'll need to rip back the decreases (knit after this picture was taken), but this sock is nearly complete.

We've been enjoying a flexible summer schedule with my in-laws here for a few weeks, so my blogging time is in short supply.  I hope that you're managing to pack in lots of summertime fun!

Friday, June 25, 2010

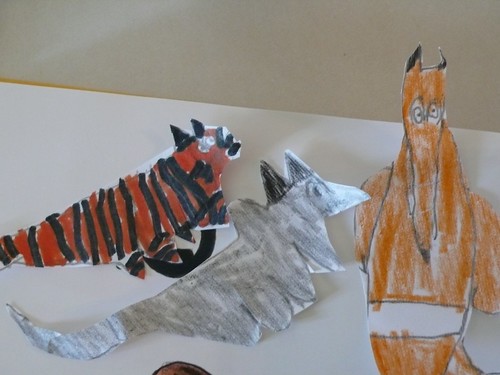
Bookmarks worthy of Dr. Dolittle

When I was little my mom always made time to read chapter books to us, reading to us before we got into bed, and it was one of our favorite parts of the day.  I remember sometimes, with particularly exciting adventures, that she would let us stay up late, just as excited as we were to find out what happened next in the story.  Now that I'm a mother, I'm discovering how much time and energy my mom invested to make our childhood special and memorable.  She encouraged creativity, gave us room to do our own thing, and included us in the things that she was interested in; gardening, baking, cooking, sewing.  She taught us to be fearless in any plan to make things from scratch, and to make our own imaginative fun. 

In a small step towards this end, one of my summer goals is to make reading together with my children a priority.  Last week we started reading the chapter book Dr. Dolittle:

The Story of Doctor Dolittle (Yearling Book)

We're all enjoying it much more than I'd expected.  I think that I watched a few minutes of the movie Eddie Murphy starred in (released in '98), but was kind of turned off by the cheap humur.  The book, as it turns out, is smart and engaging for children and adults alike, so we look forward to our reading time each day.  Now that we've gotten to the real adventure part of the story, they've been begging me to read extra chapters, which is always a good sign.

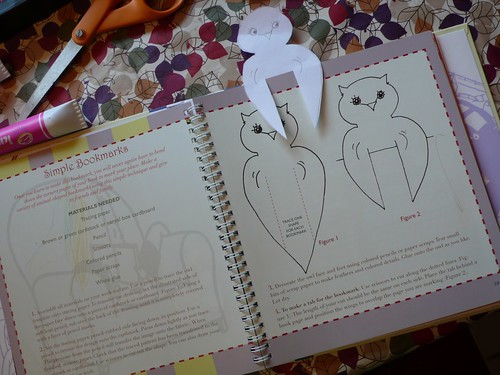
When I was paging through Rae Grant's book Homemade Fun the other day, I came across her bookmark project, and decided that it would be much more fun to have a cool animal bookmark than a ripped little slip of paper tucked in to the current chapter.


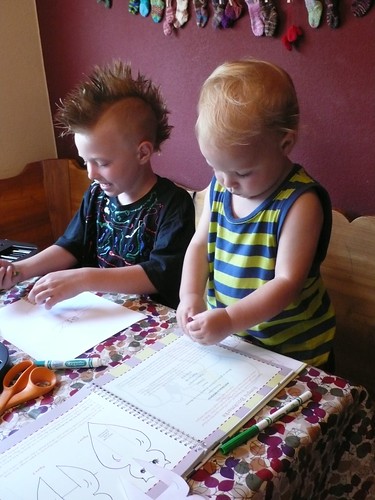
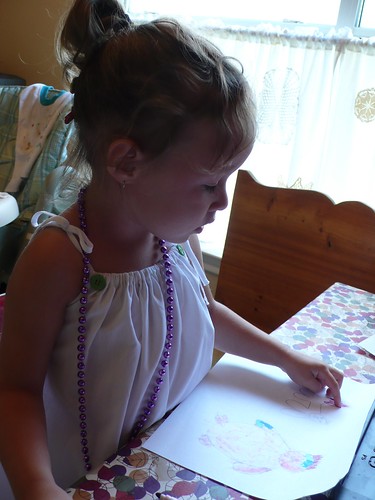
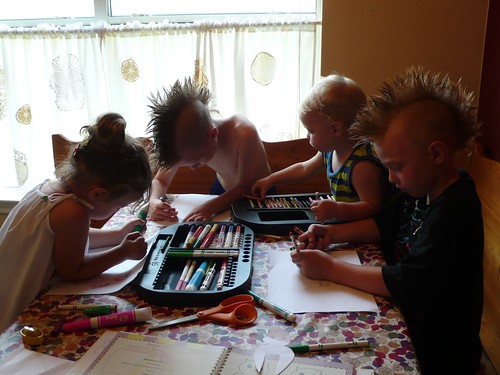
These are the bookmarks that Sparky ended up with (the others ended up coloring full pictures -- sometimes when you're 3 or 5, you can miss the point of a project...which is fine as long as everyone has fun!):


You can get the "pattern" for the project for free on Rae's site: Summer Reading Bookmarks.

Thursday, June 24, 2010

Papercut and embroidery fun

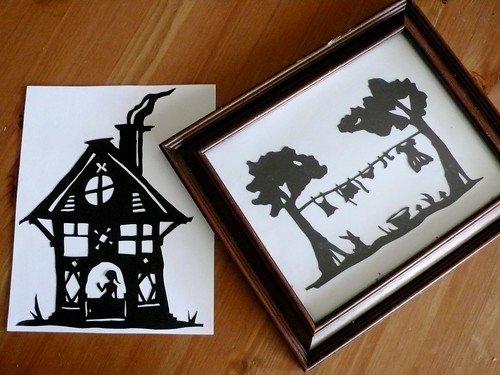
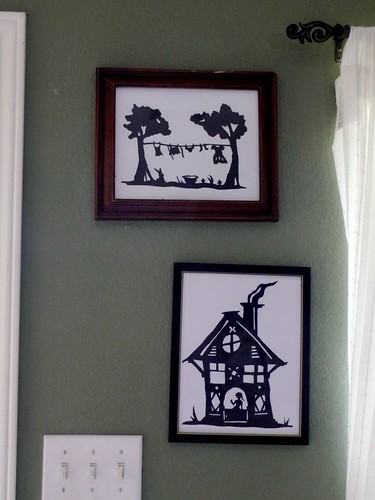
A few weeks ago I stumbled upon Amy Karol's (of Angry Chicken fame) eMailorder sets, and was completely smitten by the papercut designs in eMailorder #10.  I decided that I simply had to have some of that charming, folksy cute on my wall.  Two evenings later...


LOVE.


LOVE IT.

The children call the clothes line "Poppy and Nana's backyard" because they have a line between two trees that looks very similar.  Thusly, the little cabin has been dubbed "Poppy and Nana's house".  They do have a wood burning stove smoking away in the winter, so I suppose it's fairly accurate.  :)

Oh my gosh, and now I've just discovered that in Amy Karol's eMailorder #8, she has a papercut pattern for a bunny on a swing.  A BUNNY ON A SWING!  (...getting out my tiny swivel knife and some more black paper...)

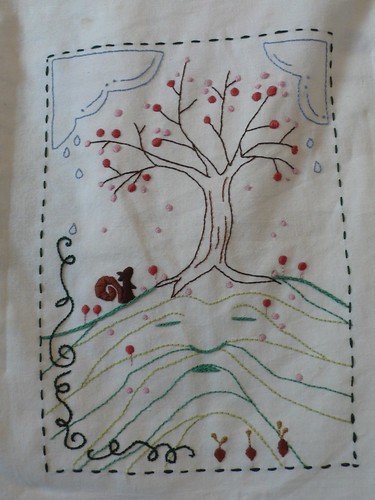
I finished up the Man Hill embroidery (design by Aimee Ray of little dear Etsy shop and Doodle Stitching book):


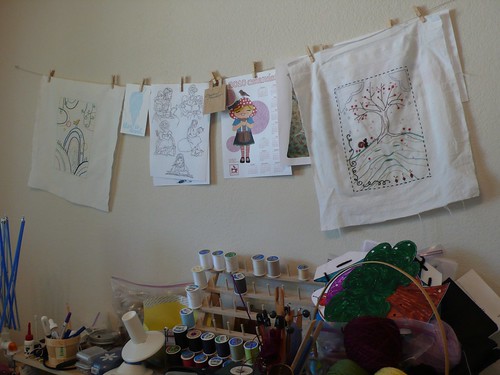
I need to stitch both Thinking and Happy Garden to complete the set that is going to hang in the playroom (framed or stretched on canvas), but in the meantime, I've got it up on my inspiration line in my studio (along with Bird Hill on the other end).


It's a happy thing to look up at now and again while I'm working on other things.

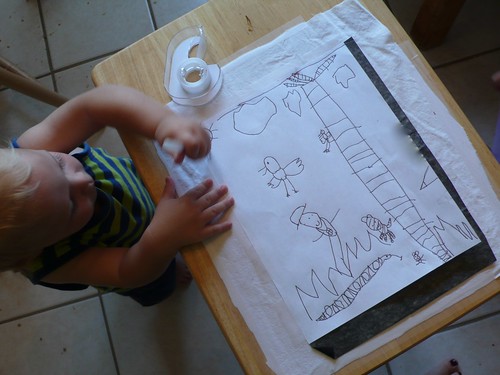
Next in my Q-snap-frame is an embroidery design transfered from one of Sparky's drawings:


(Billy helped me, of course.)

This will eventually be the front of an eco tote -- his idea -- for when he goes shopping.  That's my boy!  :)  Embroidering a child's drawing is the ultimate in doodle stitching!  Creative freedom at it's best.

Thanks to all of the sewing going on around here lately, my children have all taken on an interest in stitching things themselves.  As much as they love to "help" me by pushing the presser foot on my machine ("agghh!! not so fast!!  wait--wait--wait!!!"), I've decided to start giving Sparky and Max Sewing Lessons so that they can start to handsew things themselves.  I love how empowering it is to put skills like this in the care of little hands.

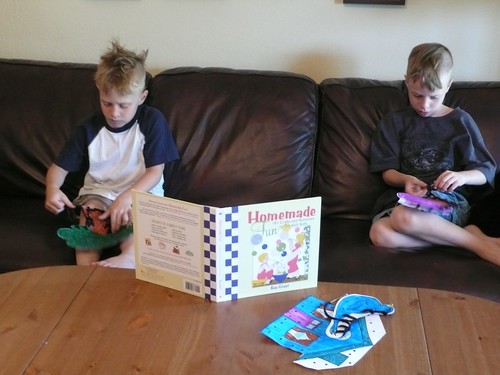
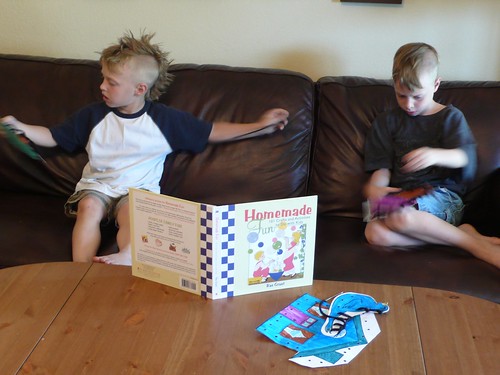
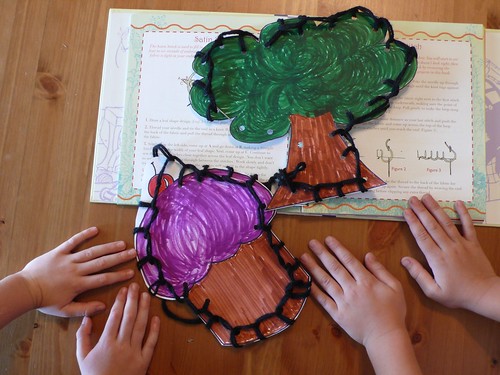
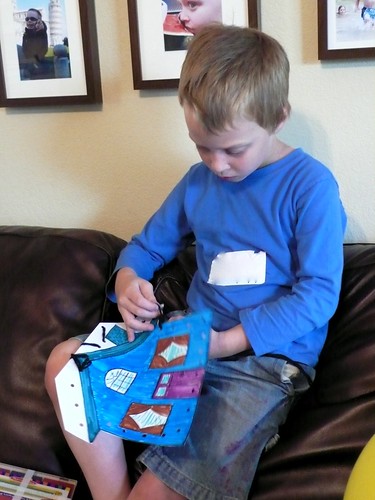
We got out our sewing cards yesterday afternoon (while the younger two were napping) along with our new favorite children's crafting book/summer fun guide Homemade Fun (by Rae Grant of the always inspiring My Little Hen), and got to stitching.


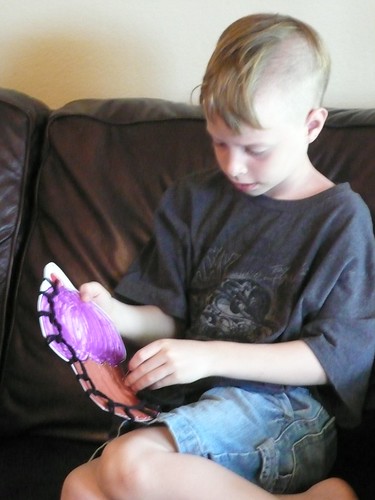
They had already learned the running stitch a while back, so I decided they were ready to take on the blanket stitch, and within minutes, Sparky (6 years old) was doing nearly perfect stitches all on his own.


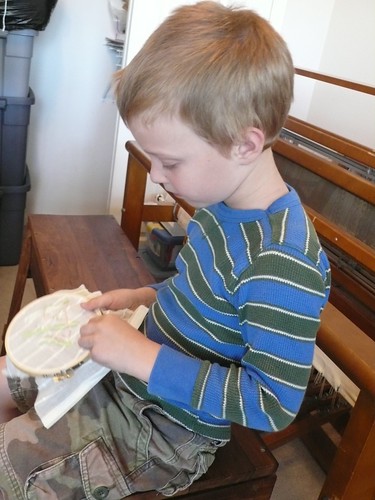
Max (5) had a little bit of a harder time because of the shape of the tree he was working on, but he managed to get the hang of it as well, and they were so proud of their finished pieces.


I cannot even tell you how much use we've gotten out of these cards.  They lace an re-lace them while they sit with me in my studio from time to time and feel like they're involved in what I'm doing.  So sweet!

Afterwords the boys took it upon themselves to make some of their own sewing cards, and had a good solid hour of quiet, focused crative play.  I love it when that happens!

Come back tomorrow for another simple Homemade Fun project!
Homemade Fun: 101 Crafts and Activities to Do with Kids

Chunky Peanut Butter and Oatmeal Chocolate Chipsters

A few weeks ago I brought these cookies to Knit Night, and promised the ladies I'd post the recipe.  Not only did I take a few weeks to type it up, but I also forgot to take any pictures to make this properly "bloggable".  You'll just have to believe me that these cookies marry the most amazing properties of buttery chocolate chip cookies with the smooth nuttiness of peanut butter, adding a wonderful crunch from the generous addition of rolled oats.

I have taken a tiny liberty with Dorie Greenspan's original recipe, and omitted the cinnamon and nutmeg.  I've made this recipe before with the spices, and ended up giving away most of the batch, becuase I just couldn't stand the spice/chocolate/oatmeal/peanut butter combination.  I know, I'm strange.  If you think you'd like it though, just add 2 tsp cinnamon and 1/4 tsp freshly ground nutmeg to the dry ingredients.

For the original recipe and about a million other fabulous recipes by Dorie Greenspan, check out my very favorite baking book in the whole world:


So, without further ado, here's the recipe:


Chunky Peanut Butter and Oatmeal Chocolate Chipsters

3 cups old-fashioned oats
1 cup all-purpose flour
1 tsp baking soda
1/4 tsp salt
2 sticks (8 oz) unsalted butter at room temp
1 cup peanut butter (chunky or smooth but not natural)
1 cup sugar
1 cup packed dark brown sugar
2 large eggs
1 tsp pure vanilla extract
9 oz bittersweet chocolate, chopped into chunks or 1-1/2 cups store-bought chocolate chips or chunks

Position the racks to divide the oven into thirds and preheat the oven to 350 deg F. Line two baking sheets with parchment paper or silicone mats.

Whisk together the oats, flour, baking soda and salt.

Working with a stand mixer, preferably fitted with a paddle attachment, or with a hand mixer in a large bowl, beat the butter, peanut butter, sugar and brown sugar on medium speed until smooth and creamy. Add the eggs one at a time, beating for 1 minute after each addition, then beat in the vanilla. Reduce the mixer speed to low and slowly add the dry ingredients, beating only until blended. Mix in the chips. If you have the time, cover and chill the dough for about 2 hours or for up to 1 day. (Chilling the dough will give you more evenly shaped cookies.)

If the dough is not chilled, drop rounded tablespoonfuls 2 inches apart onto the baking sheet. If the dough is chilled, scoop up rounded tablespoons, roll the balls between your palms and place them 2 inches apart on the sheets. Press the chilled balls gently with the heel of your hand until they are about 1/2 inch thick.

Bake for 13-15 minutes, rotating the sheets from top to bottom and front to back after 7 minutes. The cookies should be golden and just firm around the edges. Lift the cookies onto cooling racks with a wide metal spatula. They’ll firm up as they cool.

Repeat with the remaining dough, cooling the baking sheets between batches.


Enjoy!  (And next time I make these, I promise to slip a pictur
Wednesday, June 23, 2010

Dresses, tablecloths, and more...

Wow, 97 of you voted in my silly little poll!  And a healthy 27% of you voted "I DON'T VOTE IN POLLS"  You make me proud.  :)

Since then I've cut fabric for 2 more Mendocino dresses (during which, Billy dumped an entire box of Honey Nut Cheerios into the middle of the living room and the rest of the children helped him dance it all over the ENTIRE HOUSE):


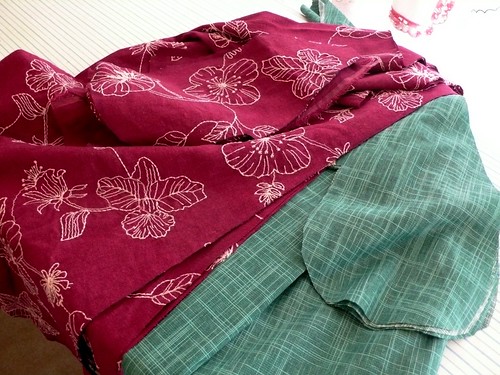
I had enough of the magenta embroidered linen to cut a second one for a Daisy sized smocked dress as well, which will be fun.

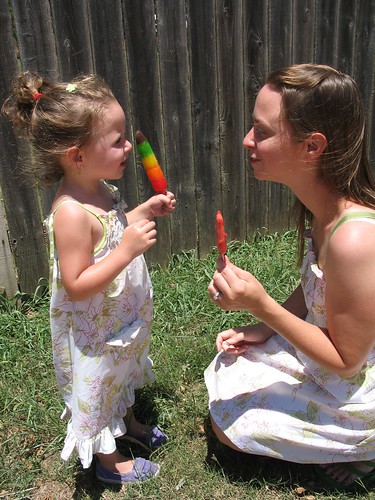
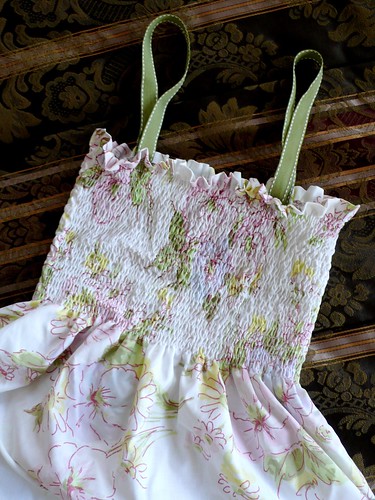
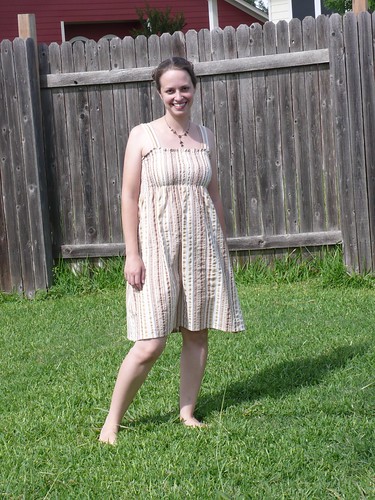
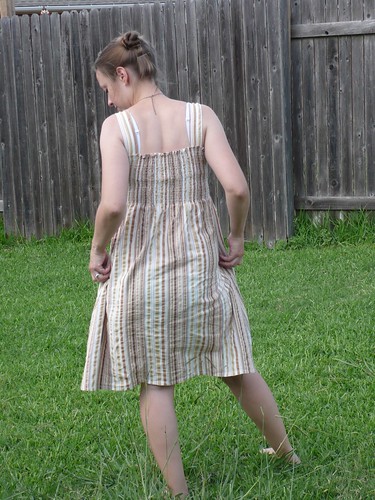
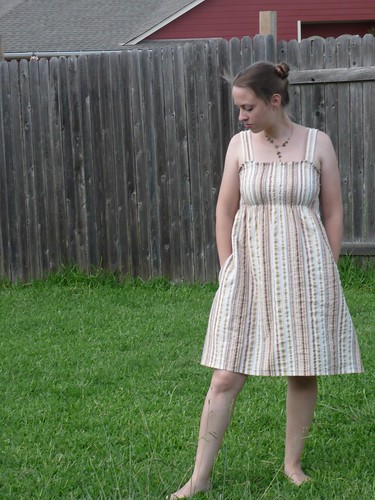
Speaking of matching dresses, this was actually my first Mendocino:


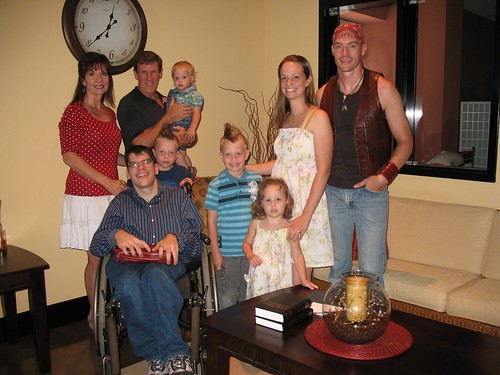
Daisy was so pleased with the coordinating dresses -- she wants to wear them every day.  Somehow though, this has not translated to actually taking any official shots of the dresses, so here are a few that my mother-in-law took while I just so happened to be wearing it this past weekend when they were visiting:


(The real question is -- what the heck is up with my feet in this shot?)


(The requisite Family Picture we take anytime we're together with Greg's family for a visit) 


I love the simplicity and cool easy wearing of bedsheet-come-dress.  I think I need about 7.  Or more.

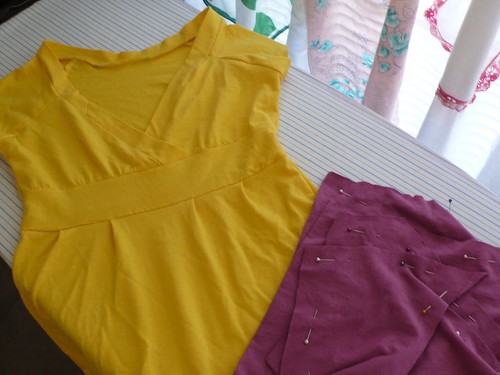
I had promised that I'd be working more on "selfish" sewing, and I did, although it was very time consuming, so I didn't get very far.  There is this one shirt I have that my husband LOVES, and he has suggested on numerous occasions that I draft a pattern to replicate it, since it's The Perfect Shirt.  Last week I decided to finally jump in and try it, and after numerous sewing and ripping sessions, I got all of the pattern pieces the right size...only to discover that the fabric I was using (a plain cotton t-shirt) had less stretch than the original, so the shirt was now too small for me.  ~sigh~


(Yellow is the too-small version, the purple is my next attempt with a little more ease.)

The upside is that now I have a working pattern to refer to, and I've cut new pieces for my 2nd draft.  I've also made the cross-over bodice a little bit bigger so that it will fit me exactly, and not slip around while I'm wearing it, which will be nice.  I also need to pick up some stretchy knitted interfacing to put inside of the hems next time, as well as some clear elastic tape to re-enforce the shoulder seams.

Drafting this pattern was certainly above my skill level, but I'm glad that I dove in over my head anyway, because I've been learning a lot about fit and how a garment comes together from the ground up.  Once I get the pattern exactly right, I have ideas for lengthening the skirt to make it into a dress as well.  I'm all about the dresses this summer!

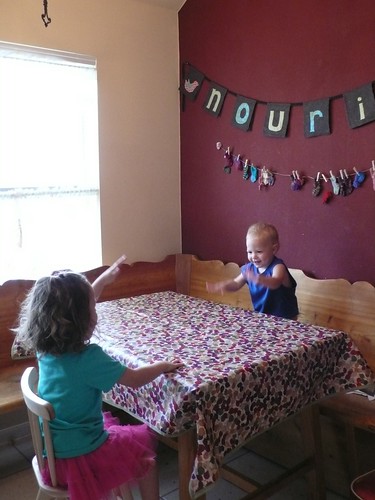
Last week before my in-laws got here, Sparky helped me sew the bias tape around a rectangle of oilcloth for a tablecloth to cover the beaten up wood of our kitchen table.
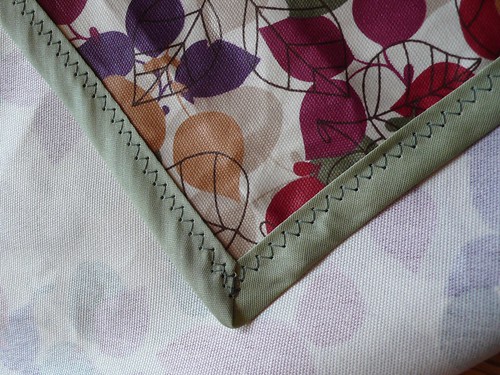


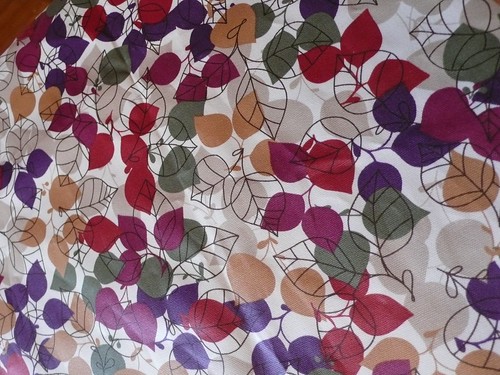
I know, it contains my dreaded nemesis The Color Orange.  But it's kind of amazing...I don't really mind much.  I kind of like it actually!  (The fabric was CRAZY on sale at JoAnn's, so I had a hard time passing it up.  And the green and burgundy go so well with the rest of the kitchen...)
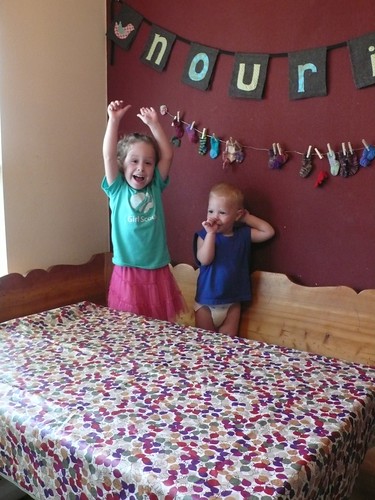


I've got some Michael Miller laminated cotton for another tablecloth, but need to get some coordinating bias tape.

Tomorrow I'll show you my current embroidery and papercut projects, but for now, it's time for the baby's nap, and piano and sewing lessons for the others.

Have a wonderful, creative summer day!

Monday, June 14, 2010

Sewing for myself

After the success of sewing all of those dresses for Daisy, I've been feeling the need for a set of my own.  When I found the (free) Mendocino pattern by Heather Ross, I knew that I'd finally found my go-to summer clothing staple.  The only thing that remained was to figure out how the heck to get my sewing machine to "shir".  After more time than I care to admit, I discovered that 1): I've been threading my drop-in bobbin wrong (not putting the thread in the notch once the bobbin was in place) and 2): The bobbin case -- while a little bit challenging to remove on that type of machine -- has a little screw on the side that can tighten tension!  Yay!  I'll give step-by-step details of this at a later date, but MY GOSH the whole tightening-the-bobbin-tension-thing was a huge revelation to me, and finally the key in making my fabric shir!

I plan on making several of the Mendocino dresses.  Here is one that I did yesterday in a brown stripe seersucker:


(LOVE those hidden side-seam pockets!)

I love how easy it is to wear, and how flattering it is to my post-baby I-still-look-4-months-pregnant  pot-belly situation.  I don't have to stress about my tummy the entire time I'm wearing it, and that's saying something.  Since I obsess about it all the time.  And sometimes cry about it.  (I swear it's true -- ask my husband and he'll give you the confirming eye-roll.)

Speaking of Greg, he is not really all about these sundresses.  He wonders why anything I make has to look like a maternity dress.  And I answer calmly: BECAUSE IT'S THE CURRENT TREND RIGHT NOW AND IT DOESN'T HUG MY UNWANTED CURVES AGGGGGHHHHHHH!!!!!! (sob)

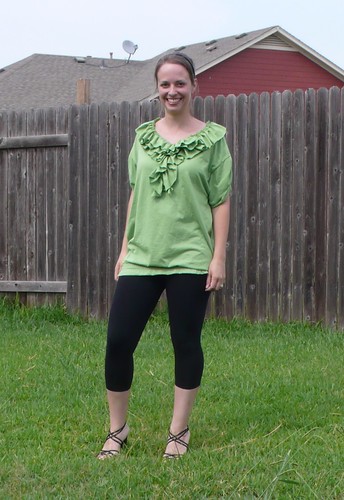
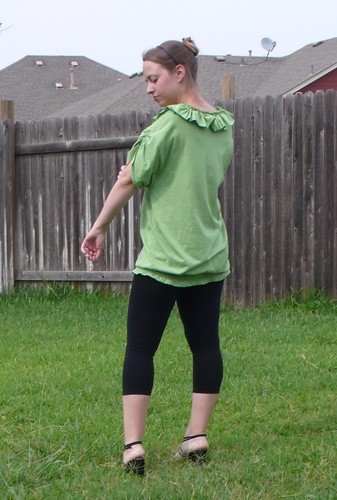
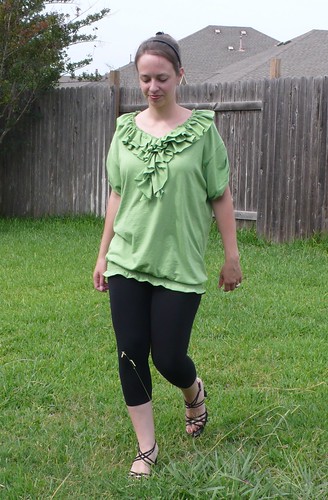
Moving on -- I also tried out some t-shirt refashioning.  As it turns out, my shoulders and arms are REALLY small.  Either that, or Wal Mart plain t-shirts are crazy large.  Not really sure.  But I followed the instructions in the Brassy Apple tutorial for a ruffled shirt, choosing a t-shirt 2 sizes larger than usual, and...well, I suppose it could be called "bat-wing".  Sort of.


I'm not totally sold on this top.  I like the idea, but...I just don't know if I can wear it with the confidence it would require.  Or if I SHOULD.  Of course with the requisite leggings and 4" heels.


When I asked Greg what he thought, there was a rather long pause, then "Well, the great thing about you Faith is that...I never know what you're going to try next.  Maybe it will be good, maybe it won't, but it's always interesting."  Umm......thank you.

I'm feeling extra silly/overtired today, so cast your anonymous vote with your thoughts on these two projects.  Come on!  Make a girl smile today!  :)


Even though I've been consumed with sewing lately, I have still been doing a bit of knitting.  Here is a Noro Kureyon (color S95) sock that I started over the weekend (I was getting a pedicure, and everyone knows that you need a portable knitting project to bring with.  Right?  Right??!!)


Mid short-row heel-turn

I can feel a week of All About Me projects coming on, so stayed tuned!

Tuesday, June 08, 2010

Happy birthday Max!

Dear Max,

Today, you turned 5 years old.


Brilliantly hilarious, darkly stubborn, passionate in your pursuit of justice: you never cease to astound me with the depth of your feeling for anything -- everything -- that happens in your little life.


I don't always understand you, and I certainly don't always know how to best guide you through your boyhood, but mostly, I'm just really, really glad to be your Mommy.


It has been a joy to teach you stitching this year.  I love to watch your quietness and concentration on your task.


You're becoming more creative and able to draw and craft more intricately than ever before.  I love showing you new things, and then setting you free to see where your little mind will take you in the process.


I am proud of the way you have started learning responsibility by taking care of Billy.  It fills me with joy to watch you delighting in his funny baby ways.


I am so glad that you're my son.


You are bright sunshine, you are fierce rainclouds, you are my Max.


And I love you like mad.  Happy birthday little guy.


Love you always and forever,
Mommy

LinkWithin

Related Posts Plugin for WordPress, Blogger...